
These Kenya safari birding photography tips come from a field workflow, not a gear catalog. The routine works in different habitats: focus on the eye, stay steady, leave space, and use early light. I have watched it produce sharp frames of African fish eagles at Lake Baringo, little egrets at Lake Naivasha, and vulturine guineafowl in Samburu. You do not need a giant 600mm lens. You need a plan that starts before the bird appears.
1. Pack a 100-400mm Bird Photography Lens First
A 100-400mm zoom is the most useful bird photography lens for most Kenya trips. It covers a secretary bird on open grass and a malachite kingfisher on a papyrus stem. If you already own a 150-600mm and can brace it well, bring that instead. Keep a compact 24-105mm or 70-200mm in your day bag for landscapes and close birds.
The glass matters less than support. A canvas beanbag over the window sill steadies any lens and lets you switch sides quickly. Leave the heavy tripod at the lodge unless you booked a fixed hide. Change lenses inside the vehicle or room. Dust and fine volcanic soil do more damage than missed focus.
2. Set These Bird Photography Settings Before You Shoot
Program the camera before the bird lands. Use continuous autofocus and high-speed burst. Set Auto ISO and choose f/5.6 to f/8 when the light allows.
For perched birds, start at 1/500 second or faster. For birds in flight, use 1/1600 to 1/2500 second. Raise ISO before you drop the shutter speed. A sharp eye beats a low ISO.
Use a small or medium focus zone and place it over the bird’s head. A wide zone often grabs the wing or branch instead. Save one custom preset for birds and another for lions and elephants.
3. Use a Simple Birds in Flight Photography Method
Good birds in flight photography starts before the bird leaves its perch. Watch the shoulder and the eye instead of the whole bird. The moment the body tenses, press the shutter and follow through.
Lake Baringo is a good place to practice. When a bird lifts from a riverside acacia, keep the focus point on the chest and pan with your whole upper body. Fire a short burst just before launch and continue as the wings open. Leave clear space ahead of the head. If the shutter falls below 1/1600, add ISO rather than trying to hold the lens still.
Boats add extra movement. Ask the boatman to cut the engine and drift. Before you choose dates, check our Lake Baringo birding seasons guide because water level and migrant numbers change the flight angles.
4. Plan the Route Around Early Light and the Right Lakes
Plan main drives from about 6:30 to 9:00 in the morning and in the final two hours of light. Activity is high and soft side light reveals feather detail. Use late morning for downloading photos and recharging batteries.
Rift Valley lakes suit waterbirds, raptors and boat work. Samburu and Meru add dry-country species. The table below sorts the main bases by what they offer.
| Base | Main bird photography value | Indicative drive from Nairobi |
|---|---|---|
| Lake Naivasha | Freshwater birds from boat level, papyrus edges | about 90 km, 2 hours |
| Lake Nakuru | Flamingos, pelicans, raptors by lake-edge woodland | about 160 km, 3 hours |
| Lake Baringo | Raptors, dry acacia birds, cliff and boat angles | about 5 to 6 hours |
| Samburu | Vulturine guineafowl, dry endemics, riverine forest | about 5 to 6 hours |
| Meru | Dry woodland and riverine species with lower traffic | about 5 to 6 hours |
The drive times are indicative for a non-stop route. Treat them as planning help, not arrival times.
Lake Nakuru National Park charges USD 90 per non-resident adult per day under the current KWS fee schedule. Check the fee before you travel, since park rates change from time to time. The fee is worth it when you arrive at gate opening, not at 10am.
For a one-week trip, pair one lake with Samburu. Our Samburu birding itinerary is designed to do that without burning daylight. On the Rift Valley side, the Naivasha or Elementaita comparison explains which freshwater base gives you more patient birding by boat.
5. Choose a Vehicle and Guide That Will Wait
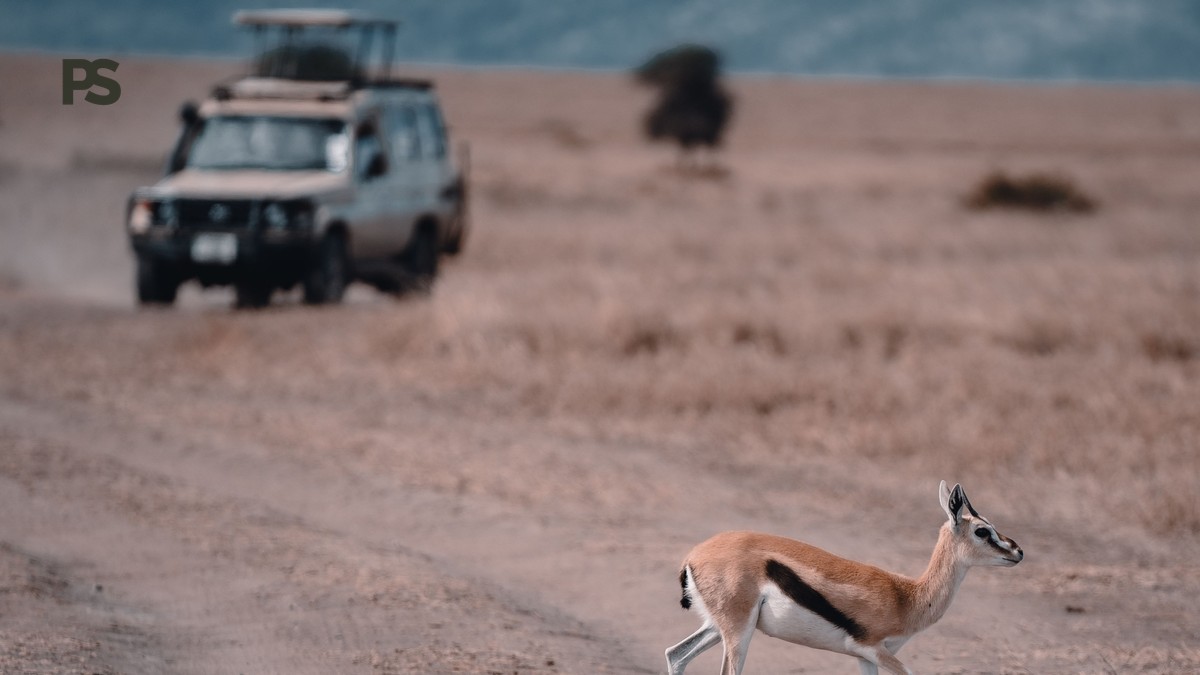
Most bird photos from Kenya are taken from a vehicle. A beanbag on the window edge is far more stable than handholding. Ask the driver to keep the sun behind or beside you and to stop far enough away that the bird does not flush.
A private 4×4 gives complete control over angle and timing, but it adds cost. A shared vehicle costs less, yet it only works when the whole group wants to chase birds. If two guests are looking for lions, the guide cannot wait for a bee-eater to return to its perch.
Budget on an indicative USD 350 to USD 650 per day for a private birding car. A shared seat usually runs from USD 150 to USD 300 per person per day.
Plain Safaris runs small-group safaris, with no more than six guests in each vehicle. Those small-group safaris keep the guide’s attention on birds without the cost of a full private car. That setup matters more than the camera body when the action starts in a thicket.
6. Compose With the Eye, the Background and the Light
Before you press the shutter, check three things: a sharp eye, a clear background, and space in front of the bird. If the background is busy, wait for the bird to move. If the bird faces away, let it turn back toward the light.
Position the vehicle with the sun behind or slightly beside you. That creates a thin bright line on the feathers in the first hours of the day. At midday, avoid harsh overhead light. Look for shade or wait until the bird moves along the water.
When a bird is in flight, leave generous space ahead of the head. The final frame feels better if you crop a little than if you cut off the beak.
7. Keep Ethical Wildlife Photography the Default
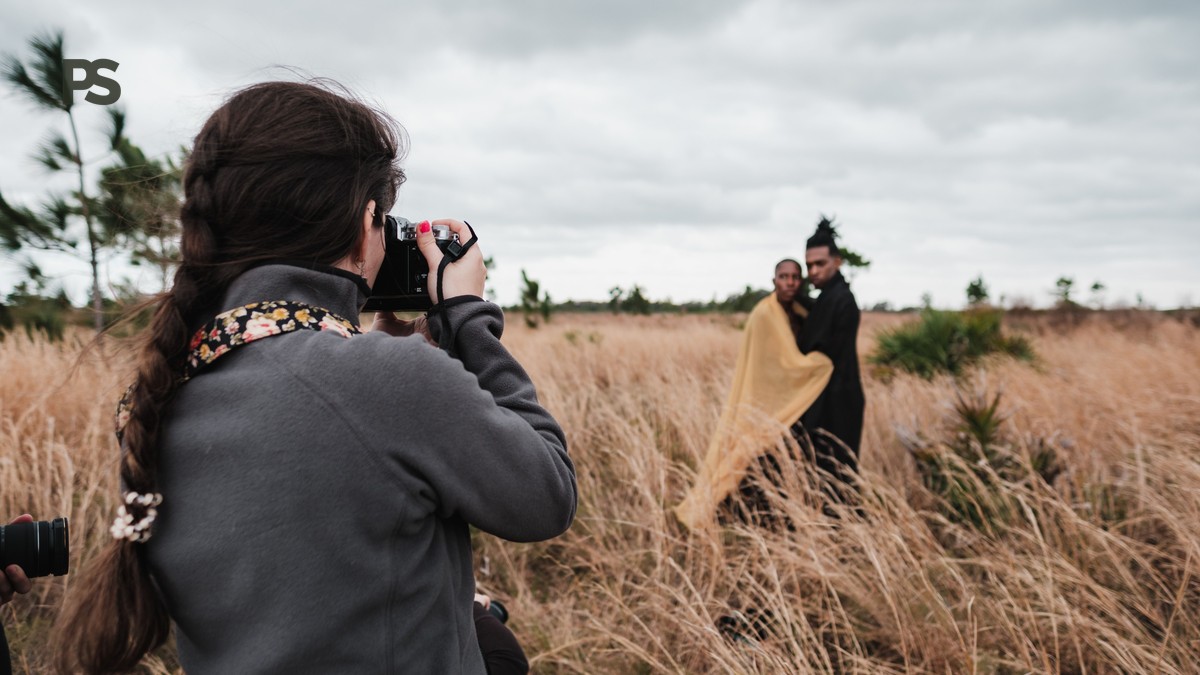
Keep ethical wildlife photography simple from the start. Do not flush a bird to get a shot. Do not approach nests too closely. Do not bait a subject or play calls to force a response.
Watch the bird’s body language. If it turns its head toward you and tenses, you are too close. Back away, turn off the engine, or wait for it to settle.
Look after your camera in the same calm way. Change lenses inside the vehicle or lodge. Use a blower at the end of the day. Download cards during the midday break so a full card never ends a good evening session.
Kenya Safari Birding Photography Tips: Plan Your Trip
Now you have a clear field plan: a 100-400mm lens, a fast shutter setting near 1/1600, a route built around early light, and a vehicle that will wait. The next step is matching that plan to your dates and bird list.
Tell Plain Safaris which target species you still need and how many days you can sit quietly in a vehicle. Plain Safaris builds small-group safaris around light, habitat and your camera setup, with time set aside for unexpected birds. Reach the team through the contact page and start planning your birding safari.